REPLACING A POWER SUPPLY
Shortly before Christmas, the 48-in-1 multicade arcade machine I had set up in the kitchen died. I didn't even get the satisfaction of letting the smoke out of the thing. It just quit working.
Whenever troubleshooting an arcade machine, start at the beginning -- power. My machine plugs into a power strip that plugs into the wall. I knew the wall outlet was good, so I tested the power strip using my multimeter.
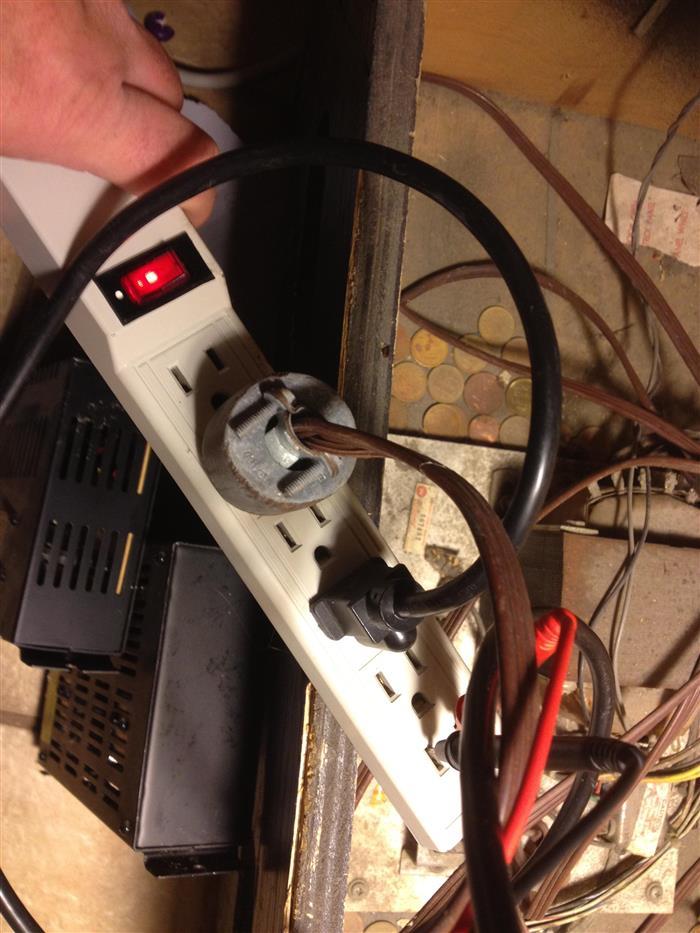
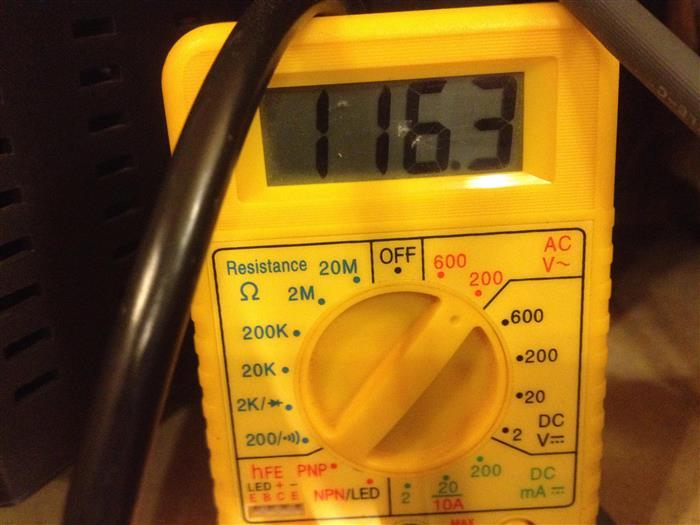
116 volts -- perfect. The next place to check power is at the power supply itself. Most switching power supplies put out +5, -5, and +12 volts. The board runs off of the +5v, so I checked that first.
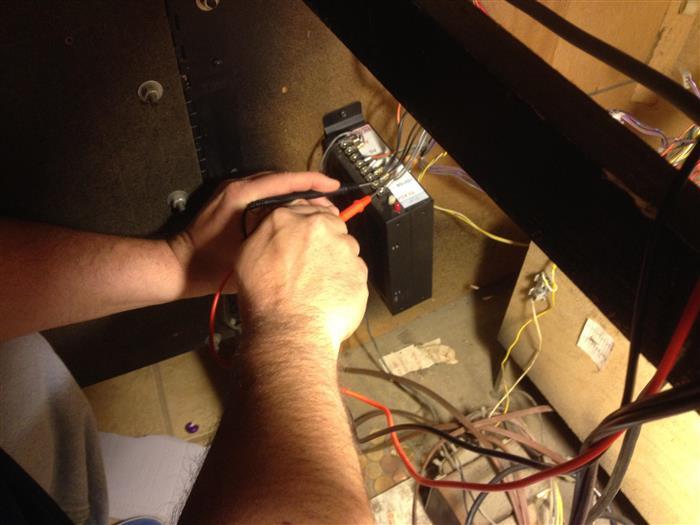
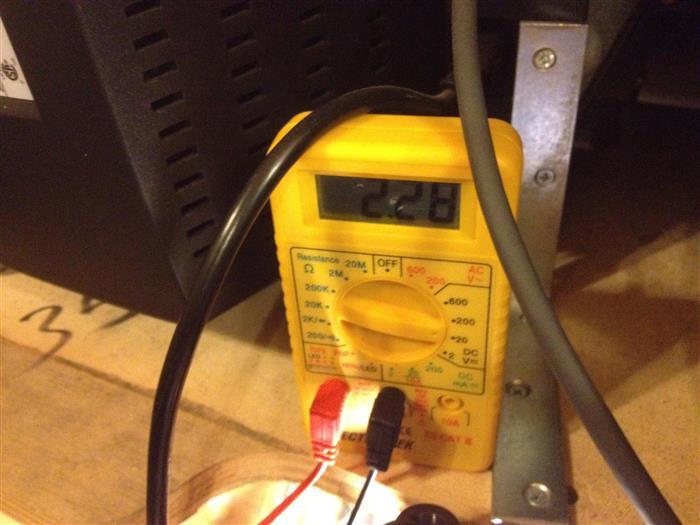
For you math nerds, +2.28 is less than +5. I checked the +12v lead and it was putting out just under +6v. This power supply was toast. Fortunately, out in the garage, I had a spare.
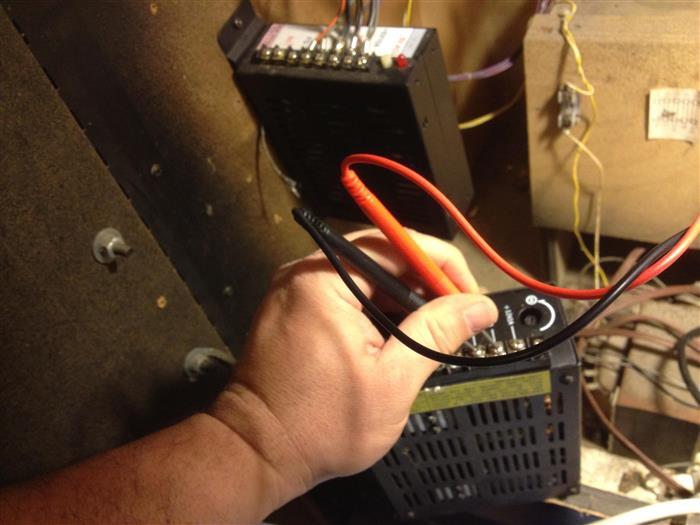
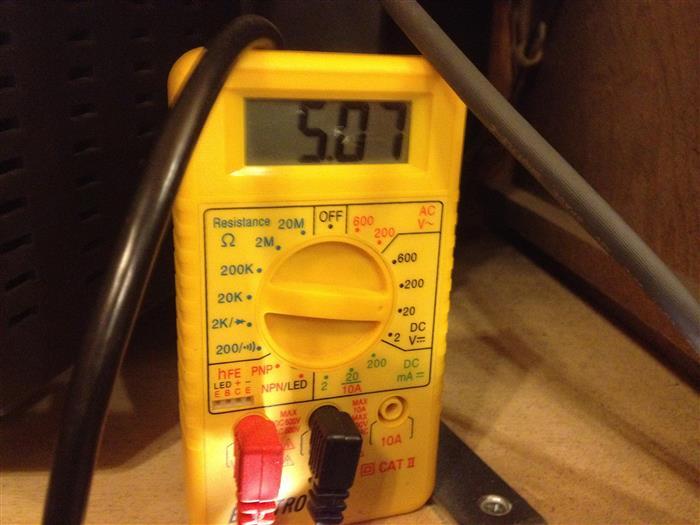
With the new power supply connected to the wall, I checked the +5v rail. +5.07 -- perfect! The +12v also looked great. With the two power supplies side by side, I transferred each connection (one by one) from the old power supply to the new one. After all the wires were connected to the new power supply, I removed the old one and mounted the new one into the machine.
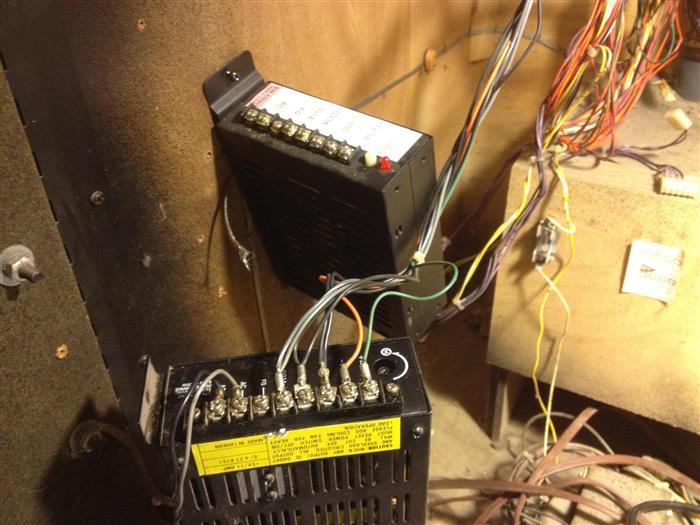
Success! While I was inside the cabinet I took the opportunity to clean out the bottom of it.
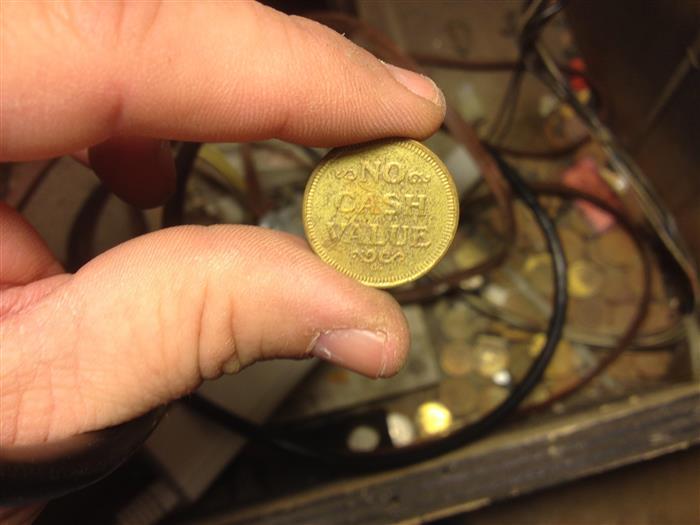
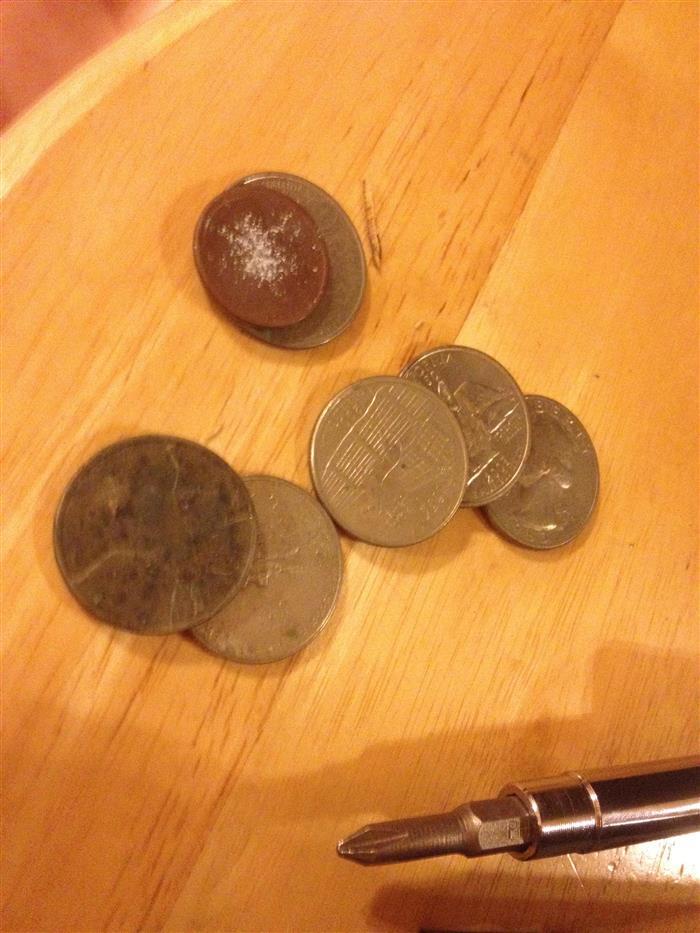
Those are some of the tokens and coins I found lying around. I also found the cabinet's original serial number.
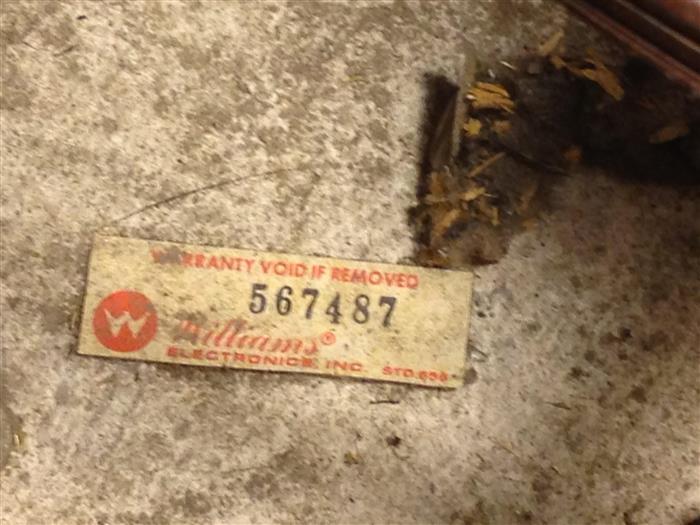
Originally, this cabinet was a Williams Robotron, serial number 567487.
While I was in the mood, I did one other cheap upgrade as well.
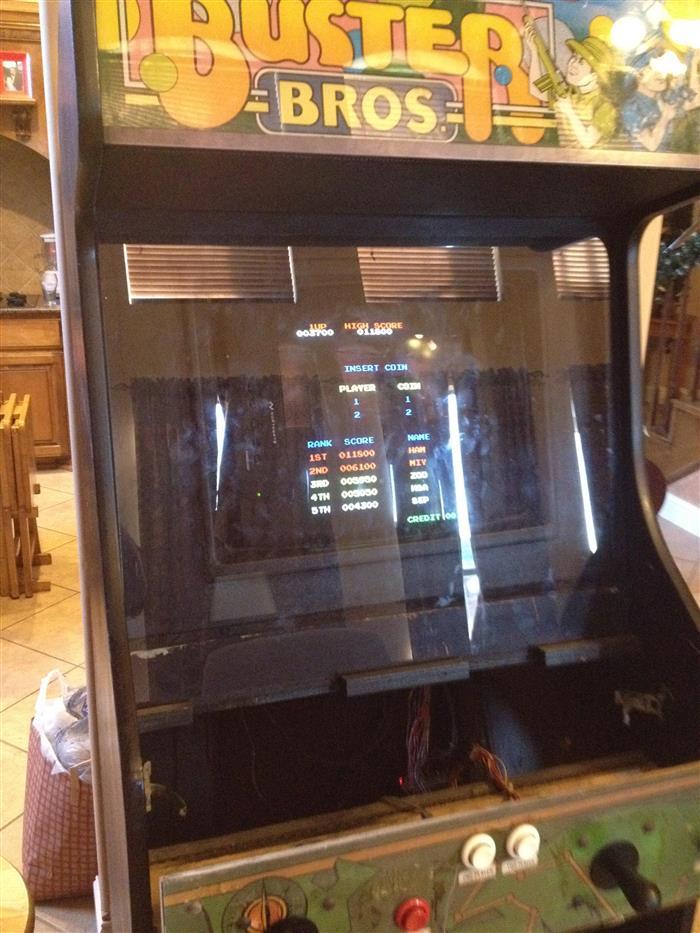
The bezel around the monitor doesn't match up very well. The original monitor had died and I replaced it with a computer monitor.
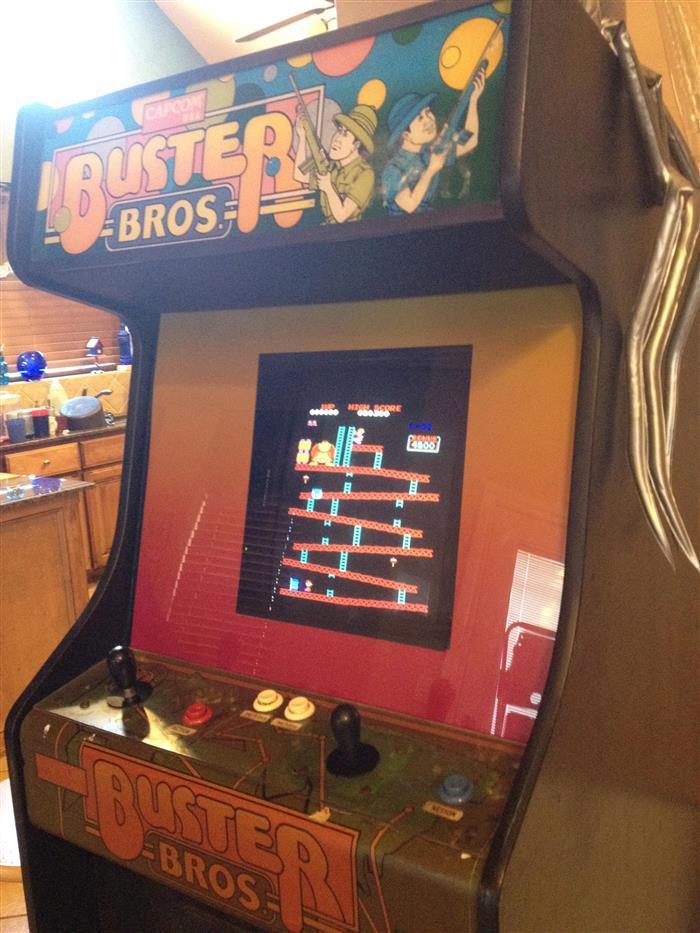
Susan found these sheets of poster board that fade between colors. She picked up two sheets: yellow-to-pink, and blue-to-green. Either one would match the color scheme on this cabinet's marquee and control panel, so I decided to go with the yellow-to-pink one. I spent five minutes cutting the square out of the middle using a ruler and a razor blade and trimming the edges down with a pair of scissors. If I upgrade to a larger monitor, I'll make the hole bigger.
